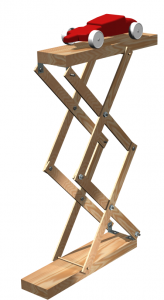
 Here is a fun project that can put your son’s power drill to work. It does require an adult to rip the scissors legs to width, and to saw the pieces to length. With the pieces sawn to length ahead of time, this would make a great den meeting project.
Here is what you need:
- Number 8-32 machine screws 1/2 inch long (12 required)
- Number 8-32 Nylon Lock Nuts
(12 required)
- Number 8 flat washers
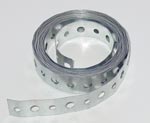
- Plumber’s tape (not teflon tape) for the brackets (How to make the brackets)
- 3/16 dowel rod cut to 3.5 inches long (2 required)
- 1 x 3 high quality lumber 3 ft long
- Paint (optional)
- 5/32 drill bit
- 1/8 drill bit
- Wrench and screwdriver
- 200 grit sandpaper
Step 1

Plumber's Tape
An adult should cut the 1 x 3 into three 10″ long sections. Two of these sections will become the base and top plate. Then take the third 10″ long section and rip it into 1/8 inch wide strips. These strips will become the scissors legs. You should be able to get at least 8 strips out of a 1 x 3. An adult should also cut the plumber’s tape into strips about 1.5 inches long. These will be be used to make the brackets.
Step 2
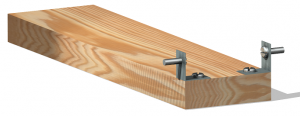
Drill two holes 1/8 in diameter in the location shown. This is about 3/8 of an inch from each side of the base. Screw the brackets to the base. You can use the machine screws to do this, but this is not how they are designed to work. You may want to use wood screws. You can use this full size template to get the holes in the right place.


Step 3
Drill the 5/32 diameter holes as shown below. Kids should be supervised, but they should be able to drill these themselves if they use a cordless screwdriver. Just be sure to measure and drill carefully. If the holes are in the wrong place, the lift won’t work right. If you are going to paint the lift, you should do it now before you assemble it. Be sure to let it dry fully before you assemble it or it will stick together.

Step 4
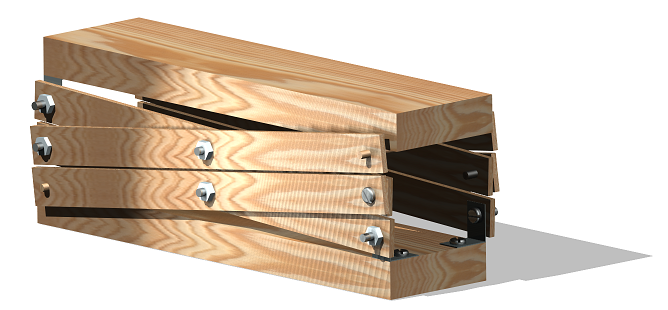
Push the dowel rod into the hole on the end of one leg. You may need to sand the dowel down to make it fit properly (sand both ends). Then use the machine screws to attach the pieces as shown.

Step 5
Add the legs to the front side. It will work easier if you attach the legs to each other and then to the base.

Step 6
Add the next level to the lift using the machine screws and locking nuts. Notice how the dowel pin is now on the opposite side. This is important because the top will not sit level if it is on the same side as the other one.

Step 7
Add the top plate and see it work! Be careful not to get your fingers in the pinch points.


1 comment for “Make a Scissors Lift (Woodworking Plans)”