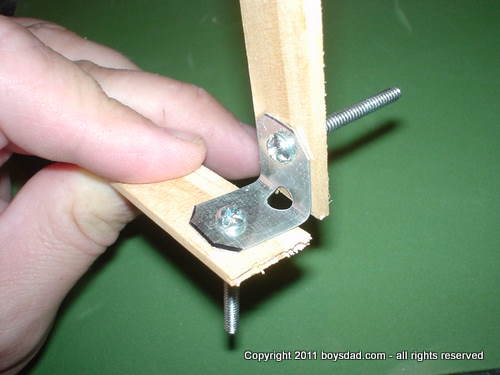
Here is an easy way to make the brackets we have been using for our kids’ woodworking projects. All you need is some perforated plumber’s tape (not Teflon tape). It is a soft steel tape that has holes punched in it.
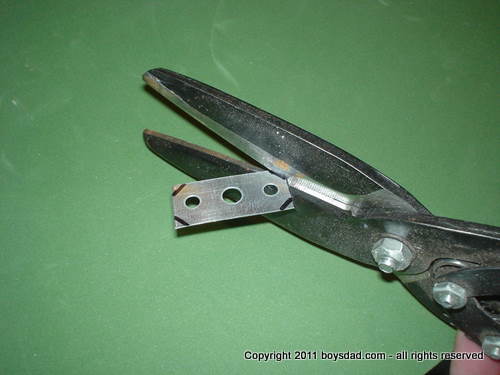
Step 1 – Cut to Length
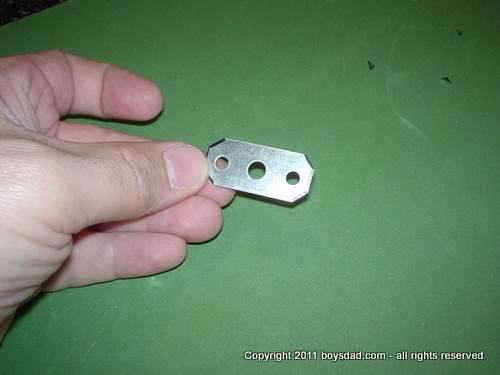
You want the tape cut so that you can use the small holes with the machine screws and use the large hole to make it easier to bend into a bracket shape.
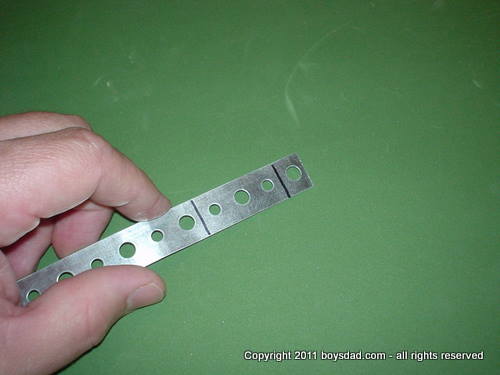
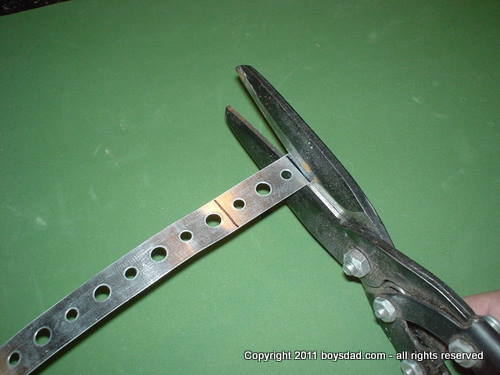
You will need to use some kind of tin snips to cut the plumber’s tape. This is a job for an adult to do.
Step 2 – Cut Corners
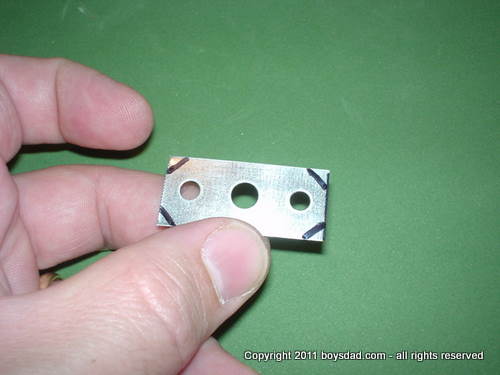
The corners of the tape can be sharp, and they often interfere with the working of the models you are trying to build. It is a good idea to chamfer the corners to make them safer.
Step 3 – Bend to Shape
The youngsters should be able to do a pretty good job bending these themselves. The large perforation makes them easy to bend the right way.
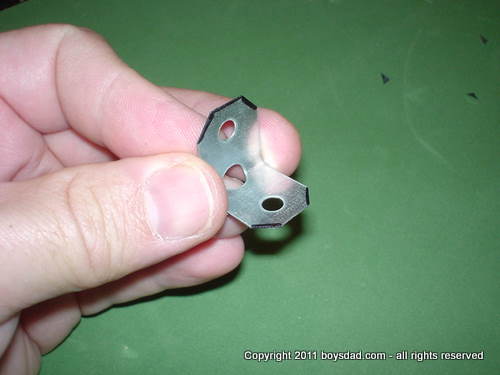
And there you have it. One bracket ready to make those angled connections.
