This little project only takes an hour or so from start to mealtime. Kids learn to use a rotary tool to cut metal, build a small campfire, and cook their own breakfast.
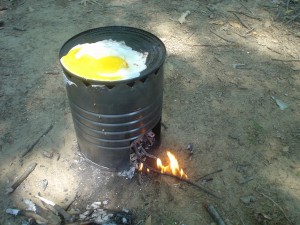
Use a juice can opener to cut vents around the closed end of the can. Then use a rotary tool to cut a small doorway. Set the stove over a very small campfire. Burn the can for 10 minutes or so, let the fire die down to coals. Then coat the cooking surface with vegetable oil and crack an egg onto the surface. If the fire has burned down properly, you can control the heat by moving small twigs in and out of the doorway.
Warnings
This project requires adult supervision. Please see terms of use.
Some of the Hazards
- Electrical hazards
- Sharp edges
- Metal sparks, flying debris
- Fire, burns
- See instructions from the power tool’s manufacturer.
Tools and Materials required
- A large coffee or juice can (Ours was 6 inch diameter by 7.5 tall)
- A rotary tool (Dremel or similar)
- Abrasive cutoff disk for the rotary tool
- Eye and hearing protection
- Leather gloves
- A juice can opener
- Twigs, sticks, paper and a safe place to build a fire
- One egg, vegetable oil, and a paper towel
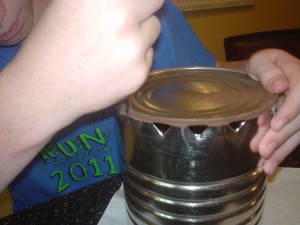
Step 1 – Punch vent holes around the closed end.
You will need an old-timey juice can opener. This is the kind that makes a triangle shaped hole.
Space the holes about an inch apart. If you get them tool close together, the metal gets kind of weak.
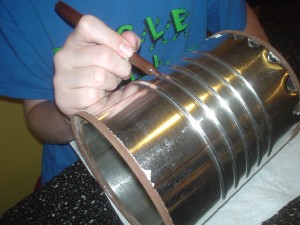
Step 2 – Mark the Door Opening
The door should be about 3 inches by 3 inches square. If it is too small it will be hard to access the fire, too large and the stove gets tipsy and won’t heat evenly.
Step 3 – Cut the Doorway
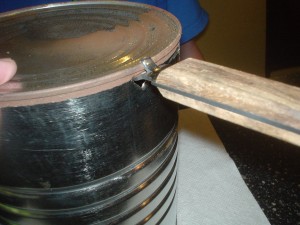
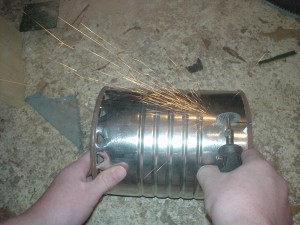
Here is where having the right tool for the job really pays off. There are a lot of different ways you could cut the metal doorway out, but the safest and easiest way is with an abrasive cutting wheel. You MUST use hearing and eye protection. Be sure to use real safety glasses (they should say ANSI Z87.1 on them). You will also need hearing protection.
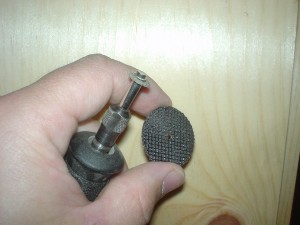
Put the abrasive cutoff disk on the rotary tool. We had to replace the wheel when we were about 80% of the way finished, so have at least one extra wheel handy.
You will need to hold the can and the rotary tool securely while you are cutting. We found out it worked well for me to hold the can with my foot while my Jake did the cutting. Be sure not to burn yourself, the metal gets hot!
If you don’t have a rotary tool, there are some other ways to cut the metal:
- Hacksaw
- Tin snips (not recommended)
- Angle grinder (with cutoff wheel)
- Plasma cutter
Step 4 – Start the Fire
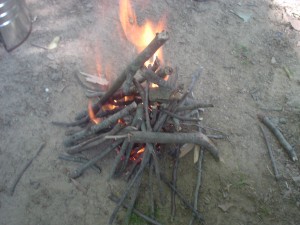
You will only need a very small fire to cook on the stove. Remember, small fires are just as dangerous as big ones, so TAKE PRECAUTIONS. If you don’t know how to build a fire safely, don’t try. Also, be sure to have a hose ready.
You will only need sticks the size of matches and pencils. Be sure the area where the stove will be is level or your breakfast will wind up on the ground.
Step 5 – Put the Stove onto the Fire
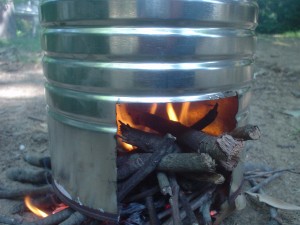
You should use leather gloves when you do this because the stove will heat up very quickly. Don’t worry if the twigs stick out around the bottom of the stove. This will be fixed as the stove burns in and the fire burns down.
Step 6 – Wait for It…
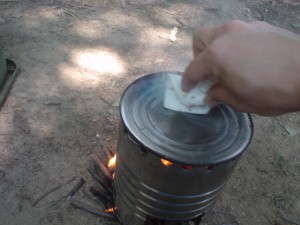
Give the fire a chance to burn down a little bit and for all the coatings on the metal can to burn off. If you try to cook now, you will get a charred, chemical-laden meal. The stove is ready when you wipe cooking oil on the surface with a paper towel and it takes a few seconds to smoke. If it smokes right away, the stove is still too hot.
During this time, you will be able to remove the sticks that are sitting under the stove. This will help the stove to sit level on the ground.
Step 7 – Get Cookin’
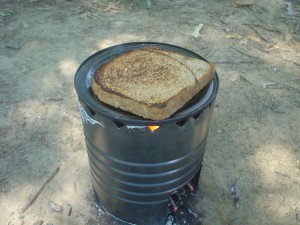
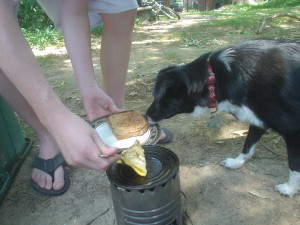
By now you are probably getting a little hungry. We tested the stove by toasting a slice of bread. It was still a little too hot, but the bread toasted up nicely. Notice how the stove sits level on the ground and the fire has died down significantly.
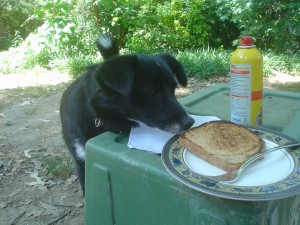
If you have a toast inspector, this is the time to let them work…
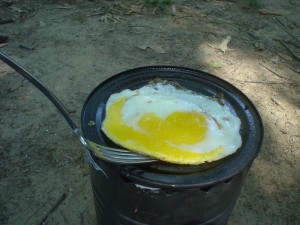
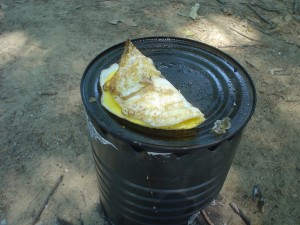
We wiped some more oil on the stove and it took a couple of seconds to smoke. Now its just right for a fried egg. Just don’t break the yolk…
Mmm….Over easy…
Step 8 – Enjoy!
Step 9 – Put the Fire Out.
Bury the burnt and burning sticks and douse the area with water. Be sure the fire area is cool to the touch. Leave no trace!

